How to Add a Role to a User
In this topic we are going to a role to a user. This topic assumes that you have created a new role and wish to add the role to a user. We will be using the Customer Entry Only (pfitopia_customer) role created in the How to Create a Role topic.To add a role to a user, you must be logged in as the system administrator.
- You add a role to a user using the User Roles view. To open the User Roles view, enter user_role in the search field on the home page and then click Go.
- Click Create.
- The User Role > Create page opens. For details on every field in the User Role view, please see the User Roles topic.
- User Name - enter or select from the lookup the User Name to which the role is to be applied. In this case, we will enter user01.
- Role Name - enter or select from the lookup the Role Name that you are applying to the user. In this case, we will enter pfitopia_customer.

- User Name - enter or select from the lookup the User Name to which the role is to be applied. In this case, we will enter user01.
- Click Submit.
- Close the User Roles view.
- Next we will verify that the role has been added to the user.
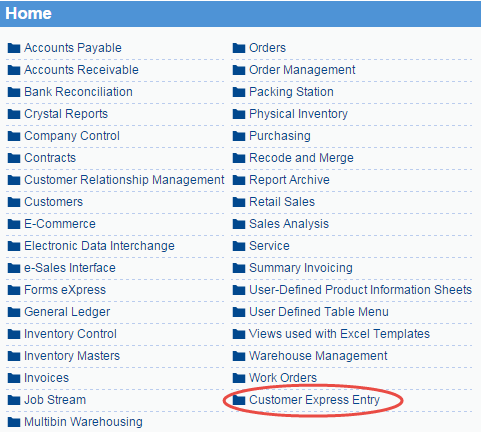
- When user01 logs into PointForce iTopia, the user will have access to the Customer Express Entry menu on the main menu. Here is an example of what user01 see when logged into PointForce iTopia: